
Planning note · Published November 12, 2025 · Updated August 3, 2026
Measure the room and the path before furniture arrives.
The size on a product page is the piece standing in its finished place. The size that decides the day is the narrowest honest gap between the curb and that place.
Bring a steel tape, a pencil, and a single sheet of paper. A phone photo helps later, but a photo without a number in it will not settle an argument at the door. Measure in inches. If the manual uses millimeters, write both. Do not convert in your head at the threshold.
Write down three kinds of size
You need the room where the piece will stand, the route into that room, and the piece itself. People skip the route because the room looks large in a listing photo. The route is a sequence of openings: building door, lobby, elevator or stair, apartment door, hall, and the room door. The smallest one governs.
If the home is a house with a private entrance, the route can still include a storm door, a tight mudroom, and a turn at the bottom of a stair. Building access covers elevators and house rules. This page is the measuring method those questions depend on.
Measure the room in more than one place
Walls are rarely parallel. Measure length and width near the floor at two or three points and keep the smaller number. Measure ceiling height. Then look for anything that steals height: a soffit, a beam, a ceiling fan, a sprinkler, a slope.
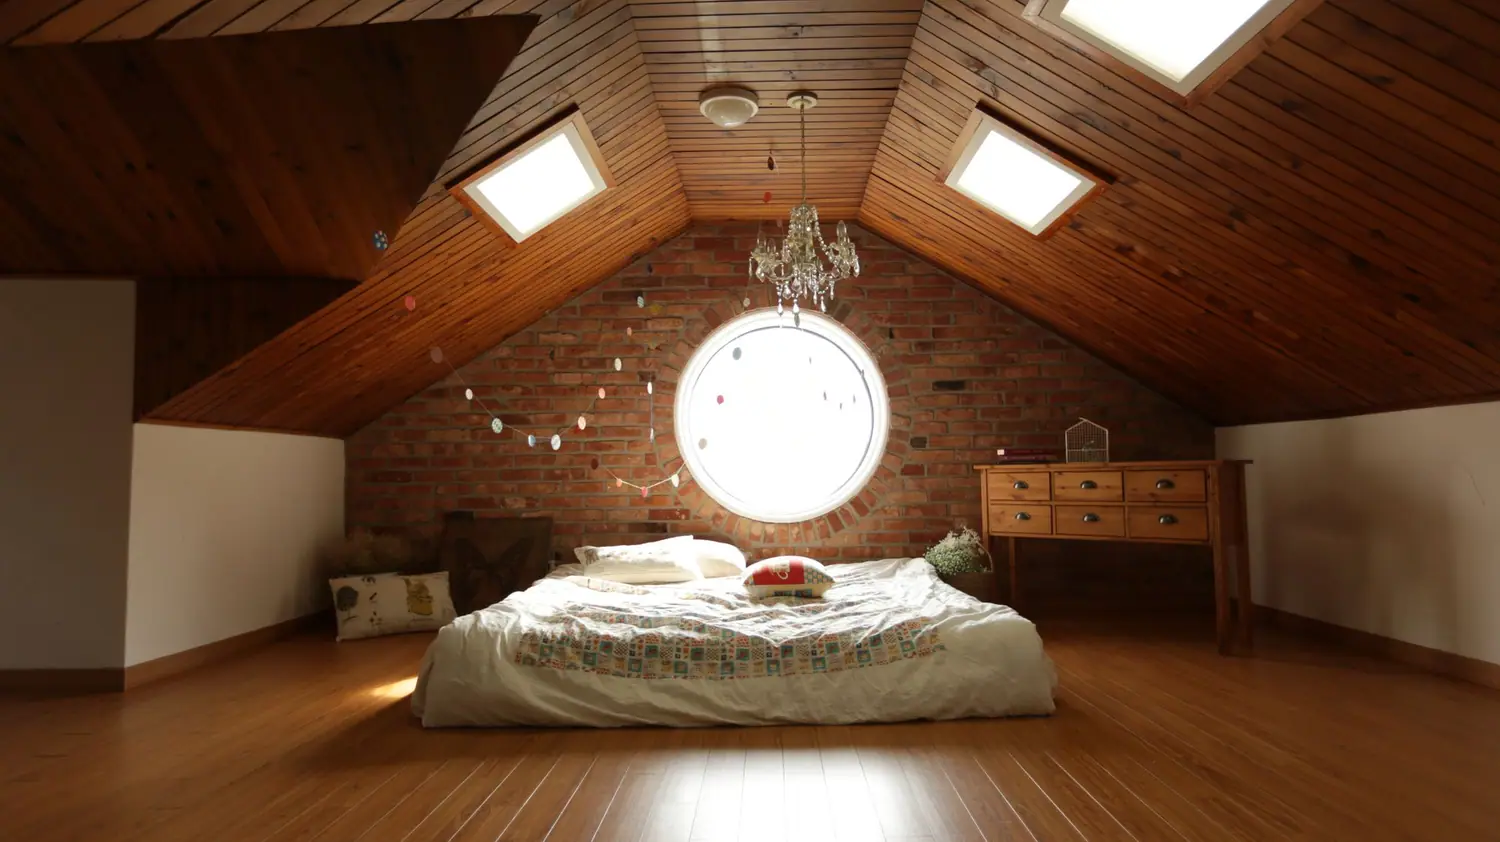
Under a sloped ceiling, height at the center of the room is a vanity number. A dresser against the low side needs the height at the back edge of the footprint, and again at the front edge if the slope is steep. Open the drawers in your imagination. A top drawer that clears the slope when closed may hit it when open.
Measure the clear opening, not the door’s name
A door sold as 32 inches wide does not give you 32 inches of passage. That figure usually describes the slab. Stops, hinges, and the way the slab sits in the frame take some of it back. Open the door fully. Measure the narrowest width you can actually pass, and the height from the finished floor to the underside of the head, including a threshold or a high rug.
If a closer arm, a chain, or a hinge knuckle sticks into the opening, measure past it. If you are allowed to remove the slab for the delivery, measure the opening with the slab off, and write “slab off” next to the number so you do not mix it up with the everyday gap. Removing a door in a rental is a permission question, not a default. See the building note before you unscrew anything you do not own.
Turns, landings, and stairs
A piece that fits one doorway can still fail at a corner. Measure hallway width at the narrowest point, and include handrails and radiator covers. Measure the landing: its depth is what lets a long piece pivot. On stairs, record width, headroom, and whether the rail is continuous.
A tall carton sometimes passes a low opening if it is tilted, and sometimes the tilt is exactly what hits the ceiling. If you are unsure, measure the diagonal of the opening and compare it with the longest side of the carton. Diagonal clearance is not magic. It only helps when the other two dimensions of the carton also fit the opening in the tilted position. If you cannot picture that, do not guess. Ask the seller for the carton dimensions and compare them on paper.
Fixed things the piece will cover
Walk the destination wall. Note outlets, switches, return grilles, supply vents, radiator valves, cleanouts, electrical panels, and smoke or carbon monoxide alarms. A bookcase that hides a panel or an alarm is a bad layout even if the width is perfect. Those notes belong on the sketch before you choose the wall. The layout note picks up from here.
Measure the piece the way it will travel
Record assembled width, depth, and height. Record the carton size when you have it. They are different numbers. A sofa’s arm-to-arm width is not the carton width, and the carton is what has to pass if the piece arrives assembled and wrapped.
Legs that the maker says can come off change the height for a doorway. List them as a separate line, and only if that maker’s sheet says removal is acceptable. Do not unscrew a structural leg because a forum said a similar sofa allowed it.
A plain comparison
This is arithmetic, not a description of a real model. Suppose a sofa is 84 inches wide, 38 inches deep, and 34 inches high. The clear door opening is 30 inches wide and 80 inches high.
- The 84-inch side does not pass through 30 inches.
- Leading with the 38-inch depth still does not pass 30 inches.
- Standing the sofa so the 34-inch height becomes the width also does not pass 30 inches.
In that example the sofa does not fit this door, unless the maker’s own instructions describe a smaller travel position and you have measured that position. Use your numbers the same way: write the three sofa dimensions, write the clear opening, and cross out any orientation that is larger than the opening. If every orientation fails, the piece does not fit that route.
When the numbers disagree with the plan, the ordinary options are to choose a piece with a smaller travel size, use a different route you have actually measured, or ask the seller — before delivery — what their terms say about an item that cannot enter. This site cannot measure your home.
Keep a one-page sketch
A top view is enough. Draw the walls, write inches on each one, mark each door with its clear width and which way it swings, and draw the route as a line from the entry to the spot on the floor. Photograph the doorways with the tape in the frame if you want a record. Photograph the destination wall, outlets included.
On delivery day, that sheet is more useful than a memory of “it should be fine.” The delivery note assumes you already have it.
Planning figures, not a ruling
These are starting points for a sketch. They are not a measurement of your home and not a code determination.
| What | A figure often used | Keep in mind |
|---|---|---|
| Main walkway | About 36 inches | Model housing codes in many U.S. places use a hallway minimum near 36 inches. Adoption is local. |
| Tighter gap | About 30 inches | A person plus a door swing will feel this immediately. |
| Chair behind a table | About 24–36 inches | Include standing up, not only sitting down. |
| Door swing | About the slab width | The arc has to land on empty floor. |
| Named door size | Do not use it | Measure the clear opening instead. |
Next, put the numbers into a room plan, or check the vertical route through a building. Planning a layout uses the sketch. Building access covers the elevator and the stair you may still need to measure.
A tape method you can repeat in every room
Start at the entry you will actually use, not at the prettiest door in a listing photo. Stand outside that door with the tape and write the clear width and the clear height before you walk in. Then do the next opening, and the next, in the order a carton would meet them. People measure the destination room first because that is the room they care about. The destination room is usually the largest number on the page and the least useful one. The smallest opening on the route is the number that decides the day.
Write each reading as a pair: the place, and the narrowest honest gap at that place. “Hall” is not a place. “Hall beside the linen closet, rail included” is a place. If a rug, a threshold, or a floor transition changes the height, measure from the surface the carton will ride on, not from a bare spot two feet away. If you will remove a rug for the delivery, write “rug up” next to the height so you do not mix the everyday floor with the delivery floor.
Measure twice when the first two readings disagree by more than a quarter inch. Walls and jambs are not machined. A third reading that matches one of the first two is the one to keep if you must choose, and the smaller of two confident readings is the one to plan with. Rounding up is how a carton that “should fit” stops in the jamb. Rounding down by a half inch is a margin, not a measurement. Label it as a margin so you still know the raw number.
What to put on the sheet besides inches
A number without a note becomes useless a week later. Beside each opening, write which way the door swings and whether the swing lands in the room the carton is entering or in the room it is leaving. A door that opens toward the carton eats the landing you thought you had. Beside each turn, write the hallway width and the depth of the floor you can pivot on. Beside the destination, write ceiling height at the back edge of the footprint, not only in the middle of the room, and list the outlets, switches, returns, supply vents, radiator valves, panels, and alarms on that wall.
Add a line for the piece itself, and keep it separate from the room. Assembled width, depth, and height. Carton width, depth, and height, when the seller will give them. Any part the maker’s own sheet says can come off for travel, listed as its own line, with the words “maker allows removal” so you do not later unscrew a leg because a different product allowed it. If the seller will not give carton dimensions, write that refusal down. You can still measure the route. You cannot honestly compare a route with a size you do not have.
Photograph the tape in the opening if you want a record you can show someone who is not in the house. A photograph without the tape is a picture of a door. It will not settle an argument. Photograph the destination wall with the outlets in frame. Then put the sheet where you will find it on delivery morning. The delivery note assumes that sheet exists.
Houses, apartments, and the rooms people forget
A single-family house is not automatically an easy route. Storm doors, a step at the porch, a tight mudroom, a powder room door left open into the hall, and a turn at the bottom of a stair all show up in ordinary American houses. A basement rec room adds a stair you have to measure even when the living room upstairs is enormous. An addition with a lower ceiling adds a height the rest of the house does not have.
An apartment adds the building before the apartment door. Measure the building door, the lobby pinch points, the elevator or the stair, and only then the apartment door. Those readings belong on the same sheet as the room. Splitting them into “building” and “apartment” is how one of them gets left at home. Building access is the longer version of the questions to ask management. The tape work is still this page.
Kitchens and bedrooms fail in a specific way. In a kitchen, the island, the dishwasher door, and the refrigerator door are openings you will use every day after the piece is in place. Measure the clear walk that remains when those doors are open, not only when the room is styled for a photograph. In a bedroom, the closet door and the path from the bed to the door matter more than the width of the wall a dresser will sit on. A dresser that fits the wall and blocks the closet has been measured incompletely.
When you are done, you should be able to read the sheet aloud and know, without going back into the room, which number is a clear opening, which number is a finished size, and which number is a carton. If you cannot tell those apart, the sheet is not finished. Add words until you can.